Just a little ole working gal, who loves food

Monday, May 30, 2011

Sweet Potato Fries with Curry Mayo!

This is possibly my most favourite Pub appetizer ever! However since I don't own a deep fryer and hate the smell of deep fried foods in the house..I bake my sweet potatos! A lot more heart healthy if you ask me!

Preheat your oven to 400F.
Take 1 large sweet potato and slice into fries.
Toss fries in a little olive oil, Salt and Pepper.
Place on a Tin Foil lined baking sheet and bake, tossing every few minutes, until crispy (about 30-45minutes depending on the thickness of your fries)

 Yum! Now in a small bowl spoon out 2 heaping tablespoons of Mayonaisse.


Sprinkle some yellow curry powder into the mayo.

 Stir to mix!
And Voila...Yummy pub fare right in your own kitchen! Happy Monday all!

Friday, May 27, 2011

Veggie Garden Madness!

Hubs and I only moved into our home last winter, and with all the indoor renovations that took place, my outdoor work was limited last summer. Mostly because we were dead tired. I promised myself that this summer I would get to work on my own vegetable garden. Now, I did have a vegetable garden at our old home, but since we only lived there for one growing season, I kinda just planted everything to see what worked and what died. This year I am much smarter about this! However the design of the garden is still in its very early (and very ugly) stages. I want my veggie garden to look as good as my flower beds. I want it to be a piece of art! And I want it to be raised. Raised meaning this:
I want to be able to walk between the vegetables. Be able to weed easily without killing my back. And I love how the veggies are in separate boxes. So cool. I most likely won't be able to build this year because I have planted for the season. But I can organize all my wish lists in photo format!

I like the cinder block idea of this garden. Gives an interesting look.

 This garden is just dreamy. I already plant marigolds in between my vegetables (it helps keep away aphids from your veggies) But I love how there are cone flower and other perennials mixed in too. Marigolds aren't the only plant that keep away pests. Basil also keeps away mosquito's! I planted LOTS of basil this year!
 I love these raised planter beds. This is definitely going in the garden next year! I stole the flagstone stepping stones idea as well!


 If I could afford it...i would do all stone raised walls like this one. So neat and tidy looking!

This one has a pretty rustic feel to it. But I don't have that much space that I would want to dedicate to the garden.
I will take some pictures this weekend of my work in progress garden. Tell me what you think!

Wednesday, May 25, 2011

Fish Tacos with Baja Sauce

Once in a while I like to try something new and adventurous. However, my husband is not like me in that aspect at all. So I just make the new weird foods anyways and MAKE him try them. Very rarely has he ever complained and now I think he has a little bit of an adventurous side to him too when it comes to food.

 Last week when the weather started to get nice and summery I felt like we needed something light for dinner. So I sat down at my computer and started googling summer eats. One thing that kept on popping up was Fish tacos. I am so not turned on by the thought of fish in taco form. But if so many people are claiming that this is such an amazing combination then I had to try it myself (and make my husband try it too!).

I will tell you this much. I was NOT disappointed ;)

First you need to make the fish batter. Take 1 Cup of whole wheat flour.
Add 1 teaspoon baking powder
And your spices. I added, dried parsley, oregano, cayenne, garlic and onion powder and paprika.
Now add about 1/2 cup beer and 1 egg to the dry ingredients


Whisk until combined. Add a little more beer if the mixture is too thick. Set aside while you prepare the Baja sauce.
For the baja sauce you will need a handful of cilantro, 1 chopped jalapeno, 1 avocado, 1/2 cup mayonnaise, 1 Lime and salt and pepper to taste. Put the cilantro and pepper in a food processor or blender. Blend until minced.
Now add the rest of the ingredients and blend until smooth.
I know, this looks totally strange and you are probably and little worried about me right now. But trust me...this stuff is so yummy.
Put the sauce in the fridge until you are ready to assemble the tacos
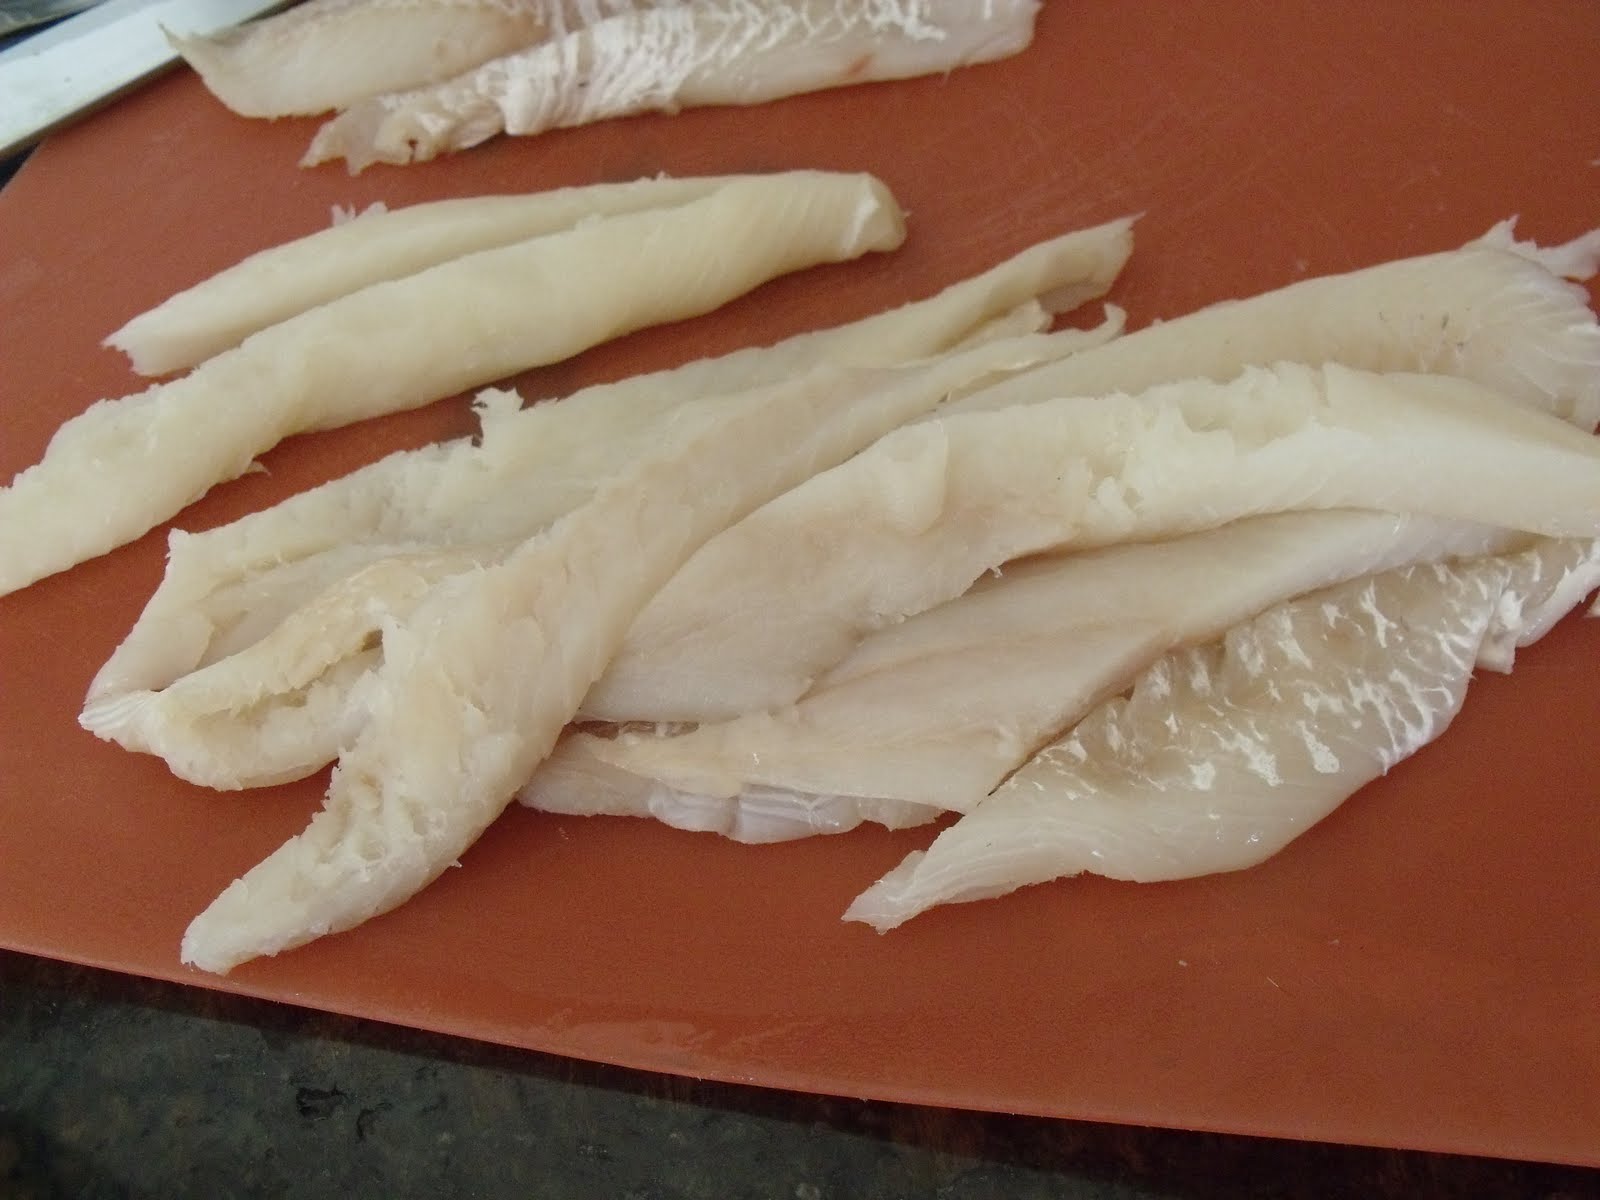
Now for the fish! I decided to use fresh Haddock because that was what was available at my local fish market that didn't cost an arm and a leg. Cod, Tilapia, Halibut or Snapper would also do, just make sure it is fresh and not frozen.

Fresh = Good
Frozen = Bad

Got it? 

Good!

Slice the fish into small filet's. Makes it easier to stuff the tacos with smaller pieces~
 
Dunk your fish in the batter (I missed taking a picture of the step where I coated the fish in flour first. This will help keep the batter on the fish while frying it)
Place the fish in frying pan with about 1/2 inch vegetable oil heated to medium high. Fry fish on both sides until batter turns a golden brown. It should only take a couple minutes per side.
This is the first batch that I didn't coat with flour first...see how the batter is flaking off?? Don't make my mistake!

Still turned out pretty damn good though! I didn't complain!


Assemble your taco! On warmed flour tortillas add some cabbage mix, a couple pieces of fish, and drizzle some of that baja sauce over the whole thing.

So crispy, light and delicious!
Enjoy!

Tuesday, May 24, 2011

French Toast

Now how about that long weekend? Too short huh? I agree! However, we pretty much have a
long weekend every month of the year...so I'm not complaining! Nothing says long weekends
like being lazy and making french toast for breakfast around my house! Here is how we do it!
Take some eggs. I had extra large eggs that had 2 yolks in each of them!
Add some Milk to your eggs
Add a little cinnamon and a dash of nutmeg
Stir to combine!
Now get your bread. I like to use 12 grain bread...I love the nuttyness of it with the egg.
Dunk it on both sides in the egg mixture.
In a large frying pan add a teaspoon of butter to medium low heat and let it melt.
Once melted add the bread and leave it alone. Don't smush it or play with it...Just leave
it until you see the edges of the bread are starting to brown.
Flip!
Its hard to capture this in a photo but once you flip the bread and it starts to cook,
the middle will slightly puff up. Thats when you know you are ready to eat!
Serve your french toast ONLY WITH REAL MAPLE SYRUP! TRUST ME!


Serve with fresh fruit!

Thursday, May 19, 2011

Not your Momma's MAC & CHEESE!

OH MY GOD.
I seriously gave myself a huge pat on the back for this recipe. It was so delicious..however, I felt like I needed to run a marathon afterwards to ward off the fat that was making its way to my bottom!
But if you want to impress someone with something tasty and more adult than boxed mac and cheese,
I suggest you try this recipe! 

First take some pasta (I used Shells!) and get them cooking in a pot of boiling highly salted water.

While the pasta is cooking get out the big guns. Pork Belly. This stuff is sooooo tasty! If you can't find any at your local grocer, you can also use thick cut bacon or panchetta.

 Cube the pork belly and throw it in your saucepan on medium high heat.
 Once bacon is pretty brown, toss is in a thinly sliced shallot. I wish I used two for this batch...
so when you make this use two shallots. Since the bacon fat is pretty hot the shallot will cook in less than a minute. Remove bacon and shallots with a slotted spoon and set aside for now, leaving the grease in the pan.
 Get your cheese ready. I grated about 1 1/2 cups old cheddar
 and 1 cup Pecorino Romano
 Back to your grease pan, add about 2 tbsp unsalted butter. Heat should be on medium.
Oh and don't forget about the pasta, you want it to be al dente...strain it and have it handy.

 Once your butter is melted in the pan add about 3 tbsp flour (I ran out of white flour and used whole wheat flour...it still tasted fine). Whisk, Whisk, Whisk...the mixture will start to get all bubbly and brown...you will do this for about a minute or two.
 Now add about 1 1/2 Cups Heavy Cream and 1 Cup 2% Milk (I told you it was fatty). Continue whisking until the mixture starts to thicken slightly. Lower the heat to LOW.
 Add your grated cheese in handfuls, whisking to combine and melt. At this point I seasoned with pepper and a little salt and added some fresh thyme..about a teaspoon full.
 So yummy!
 I poured the pasta shells and cheese sauce back into the pot that i cooked the pasta in and added back the bacon and shallots. Stir to combine.
 If you are feeling a little adventurous or having an undying love of everything goats cheese, crumble some of that in. Stir to combine again. (sorry for the bad picture here...was trying to handle camera, goats cheese and wooden spoon to ward off my cats who smelled cheese)
 Pour Mixture into an oven safe casserole dish or individual bowls.
 Top with Panko Bread Crumbs and Parmesan Cheese. Did I mention that I used 4 different kinds of cheese in this? Maybe that's why its so good!
 If you have some on hand..you can drizzle a little Truffle oil over the casserole before popping it in the oven. Pop the dish in the oven at 350F for about 15-20 minutes or until the topping is browned.
 a work of art!
Serve and enjoy!!